Registering new users can help you keep the company more organized and make performing tasks easier for your employees. In addition, it is possible to define which accesses and permissions each employee will receive, making the use of PariPassu solutions safer and more reliable.
Check this article:
How to add new users?
Step 1: The first thing you'll need to do is access the link acesso.paripassu.com.br and log into your account.
Already on the home screen, click on the “My Account” option, located in the upper left corner.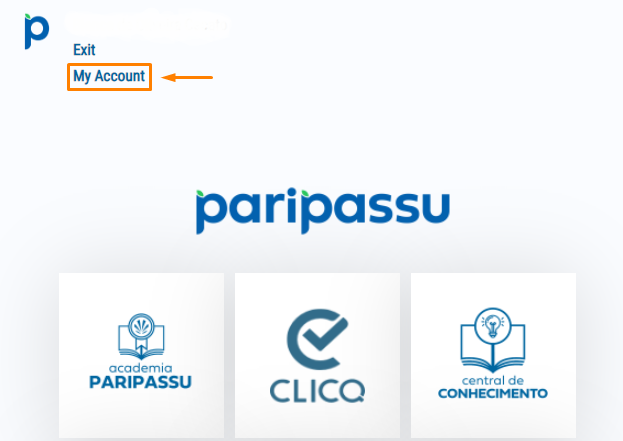
Remember that only the Master User can register new users.
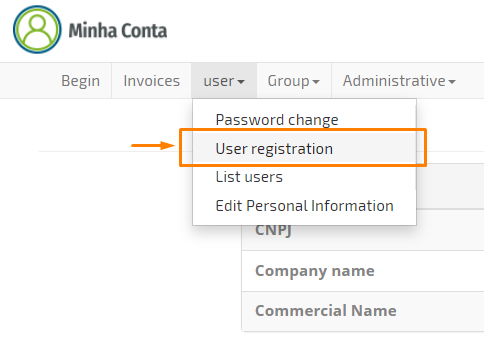
Step 2: Now on the "My Account" screen, click on "User" and select the "User registration" option.
Step 3: You must fill in the Name and E-mail field with the information of the user you want to register. Then click "Save".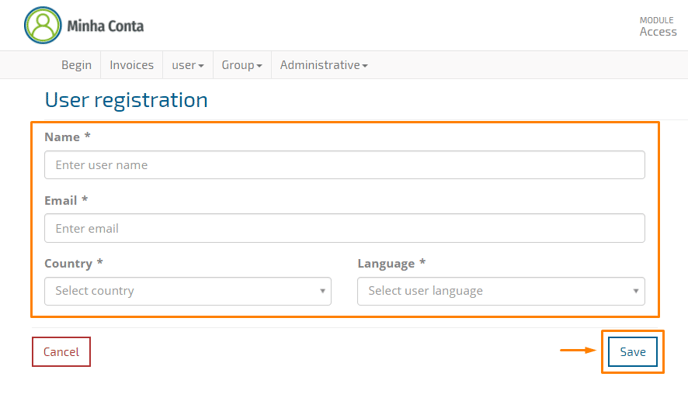
Step 4: When you complete the previous step, the system will send an Account Activation email to the user you registered. He must access the email to confirm his registration and create his own password. The link to create the password is in this same email.
Done! The user is already registered! Now you can manage the permissions to give them access to the functionalities of your PariPassu solution.
How to manage permissions and grant access to users?
Step 1: You must enter PariPassu Access again, accessing the link acesso.paripassu.com.br.
Already on the home screen, click on the “My Account” option, located in the upper left corner.
Step 2: On the "My Account" screen, click on "Group" and select the "Permissions Management" option.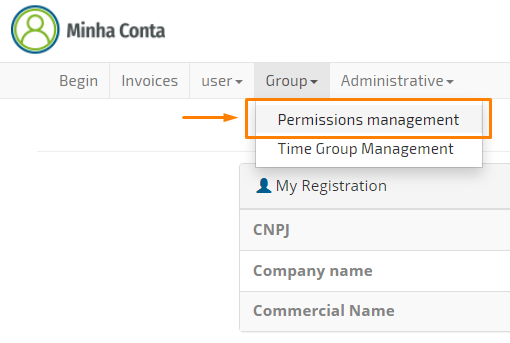
Step 3: Select the "User" filtering option and enter the name or email of the user you want to grant access to.
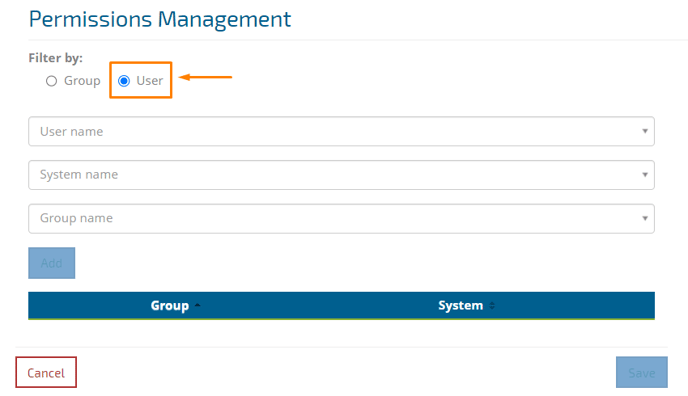
On this screen, filtering by Group is used when you want to grant the same access to many users at the same time. If that's your case, you can use it instead of filtering by User and your process will be faster and easier.
Step 4: Select the user you want. The field just below the user is System Name. This system refers to the PariPassu solution or system itself. In the Group Name field, you will find the permissions themselves, referring to the system selected in the previous field.
After you select the desired System and Group, click "Add".
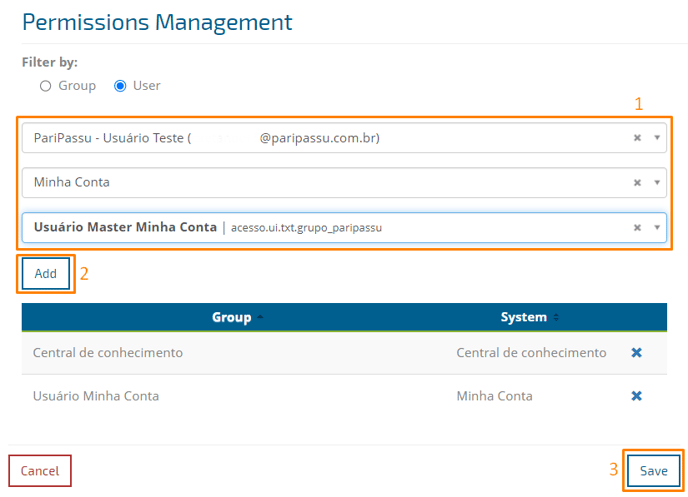
Step 5: Now just click "Save" and that's it! The registered user already has access to the system released.
We hope this article has helped you!
See you later! 🍎🤗🍉
Do you have any questions? Click here and speak with an attendant.