Check it out in this article:
- What is a global filter?
- What is an indicator filter?
- How to create a global filter
- How to create an indicator filter
What is a global filter?
Global filters are those that you can apply on the dashboard itself, that is, they will be applied to all indicators on this dashboard that are configured accordingly.
This allows the same filter to be applied to several indicators (widgets) at the same time, which makes it faster to change the filtered data on your dashboard, without having to edit the filter in each indicator.
What is an indicator filter?
They are filters applied only to the indicator (widget) that it was configured.
How to create a global filter
Step 1: Access your account via the link acesso.paripassu.com.br and enter your username and password to login. From your account home screen, select the Panorama tool.
Step 2: Now on your Panorama's home screen, select the "Dashboards" option in the central menu of your screen (1). You can also access them through the side menu in the left corner of your screen, just click on the icon  (2).
(2).

Step 3: On the dashboards page, select the dashboard that you want.
Step 4: Within the dashboard you chose, click on the "Global Filters" button, located in the upper right corner of your screen.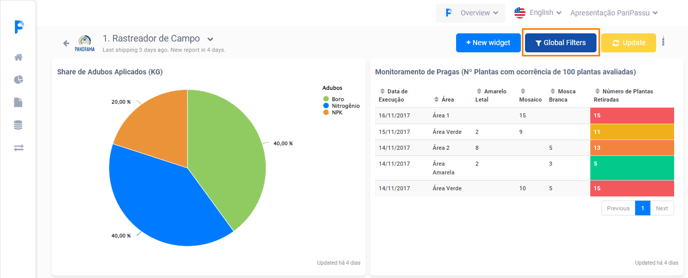
Step 5: The system will display all the global filters that are active in this dashboard and will give you the options to "Add Global filter" and "To edit" (to edit existing filters).
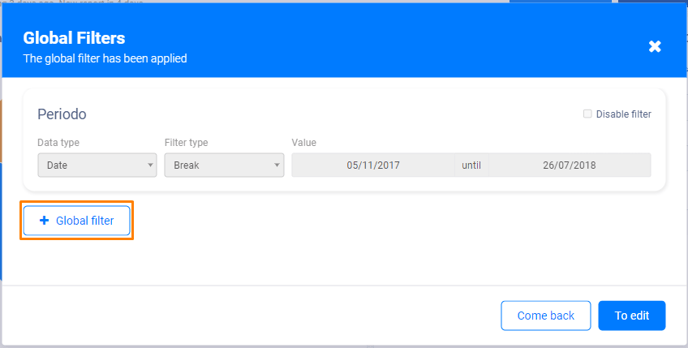
Step 6: To add a global filter, click on “+ Global Filter”. At this point, the system will ask you to fill in some fields. Check below each field, its description and how to fill it in correctly.
- Filter name: write the name you want for your global filter.
- Data type: select the type of data you want to filter, the options are:
- Text.
- Numeric (for decimal values).
- Integer (for whole numbers).
- Boolean (true or false).
- Percentage.
- Date.
- Filter type: the options that will be presented in this field will vary according to the type of data you selected in the previous item and it will determine how the data will be filtered. Check out the example below:
Example: you can determine that the filtering is carried out considering equal or different values of a keyword or considering a range of dates.
- Value: depending on the type of filter you selected in the previous field, the system will ask you to indicate a value. The options are:
- Number.
- A period.
- Or range that will be filtered.
- Minimum and maximum.
- Disable filter: when selecting this option you disable the global filter, that is, it will no longer be active for the configured indicators.
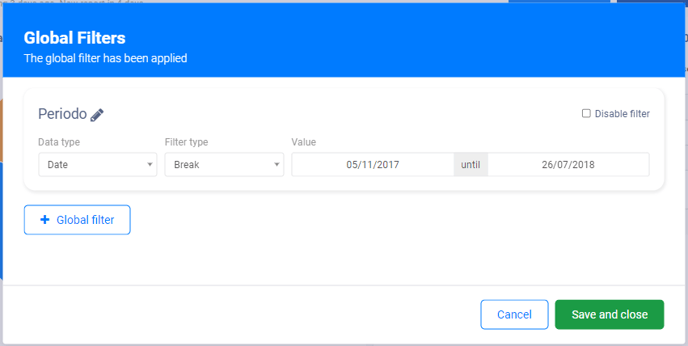
Step 7: After making the settings of the new global filter, click on “Save and close”.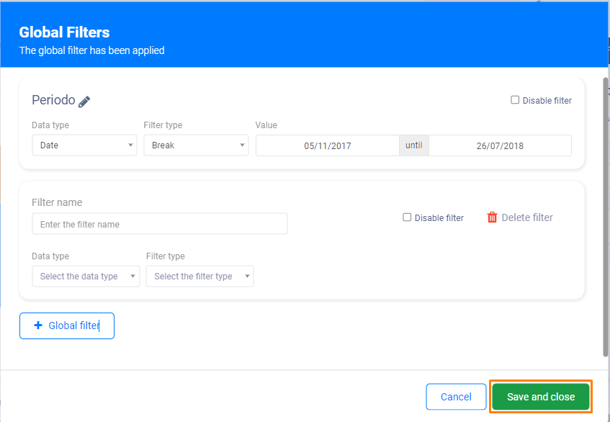
Done! Your new global filters have now been created. Now you need to add them to the indicators you want to filter. Check out the step-by-step process below.
Adding a global filter in the indicator
Step 1: Enter the dashboard where the global filter was created. Now you should find the indicator you want to apply the filter to.
Step 2: On the widget itself, click on the icon ![]() (1) to access the menu and select the option “Edit indicator” (2).
(1) to access the menu and select the option “Edit indicator” (2).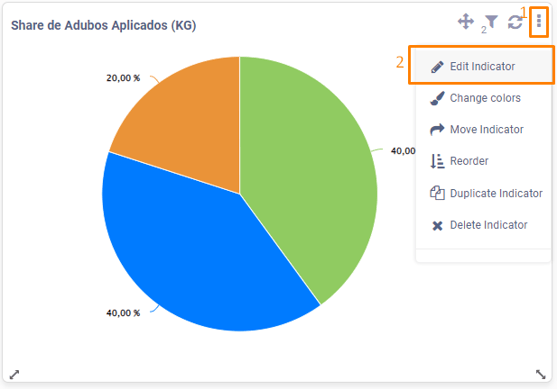
Step 3: Now on the Edit Indicator screen, locate the “Filters” field and click on “Add new filter”. At this point, you must fill in the following fields:
- Select the field: you will have to choose the field of your indicator.
- Select the type of filter: you must select the option “Equal to filter”, with this, the system will present the name of the global filters that you have created.
Step 4: Select the filter taht you want, and click “Save”.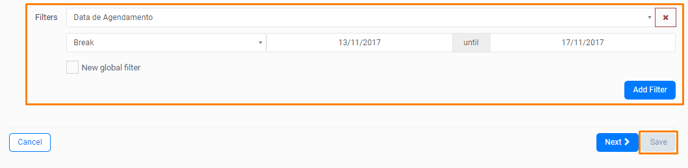
Done! Now your global filters are already configured on the indicator you chose! Repeat this process with all the indicators you want to apply the filter to!
How to edit global filters
Step 1: To edit a global filter, go to the dashboard where you created it and click on “Global filters”, located in the upper right corner of the screen. The system will display the list of global filters. Then click on “To edit”.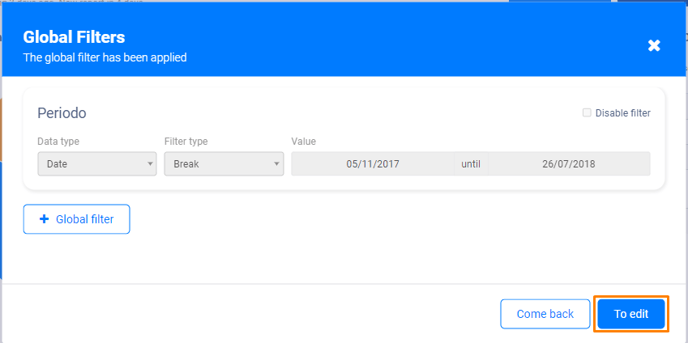
Step 2: You can edit a global filter to perform new filtering on all indicators in which that filter is configured.
Step 3: After making the changes you want, click on “Save and Close”.
How to create an indicator filter
Remember that the indicator filter is only applied to the indicator it was configured in, so you will have to create it directly on the indicator that you want to filter.
Step 1: To consult or add a new filter, go to the widget you want to filter.
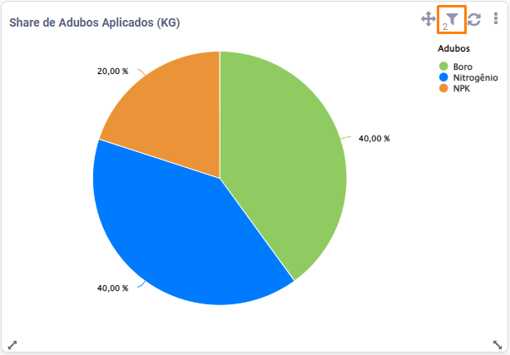
Step 2: Click on the icon  located in the upper right corner of the indicator itself. Note that the icon will be accompanied by a number, which identifies the total number of applied filters.
Step 3: To add a new filter, click on “+ New Filter”.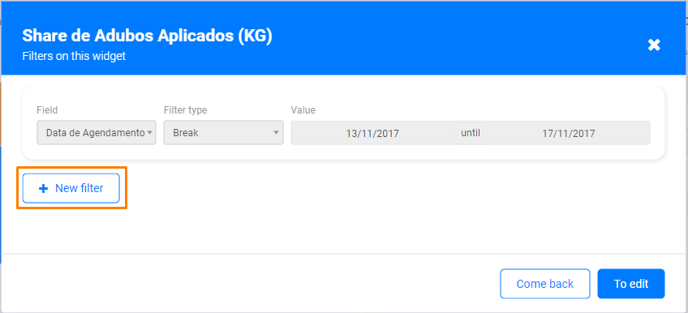
Step 4: At this point, you must fill in some fields related to the filter you are creating. Check out the fields, their descriptions and how to fill them in below:
- Field: it will present all the fields of your indicator, select the field you want to filter.
- Filter type: the options presented in this field will vary according to the type of data you selected and it will determine how the data will be filtered.
- Value: depending on the type of filter you selected in the previous field, the system will ask you to indicate a value. The options are:
- Number.
- A period.
- Or range that will be filtered.
- Minimum and maximum.
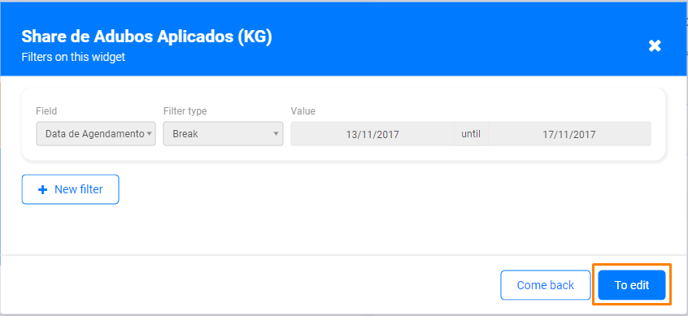
Step 5: After filling in all the information, click on “Save and close”.
How to edit indicator filters
Step 1: To edit the filter, click on the icon located in the upper right corner of the widget. The system will display your list of indicator filters. Then click on “To edit”.
Step 2: After making the changes that you want, click on “Save and close”.
We hope this article was helpful to you! 🍎
If you have any questions, CLICK HERE to contact our Customer Success team! We will be happy to assist you! 🤗💙
See you! 🖐️